Repair Of Stress Cracking
Book Extract
Why It Needs To Be Done
Cracks in the gelcoat, looking a bit like a spider's web, are unsightly. More to the point they will allow water to penetrate the laminate, and therefore need to be repaired.
When It Should Be Done
As soon as possible after the damage is noticed.
Tools Needed
Triangular scraper or small hobby electric drill, electric sander, abrasive paper, sanding block, cutting compound and polish.
Where To Find It
Keep your eyes open for any gelcoat damage.

Gelcoat Colour Matching
The most important bit, for any gelcoat repair, is matching the gelcoat colour. Where a repair has been made to the inside of fibreglass moulding, the inside needs to match the interior colour and texture. Ensure this is applied over the whole area exposed so that there’s no evidence of the internal repair. This is important to subsequent resale value.
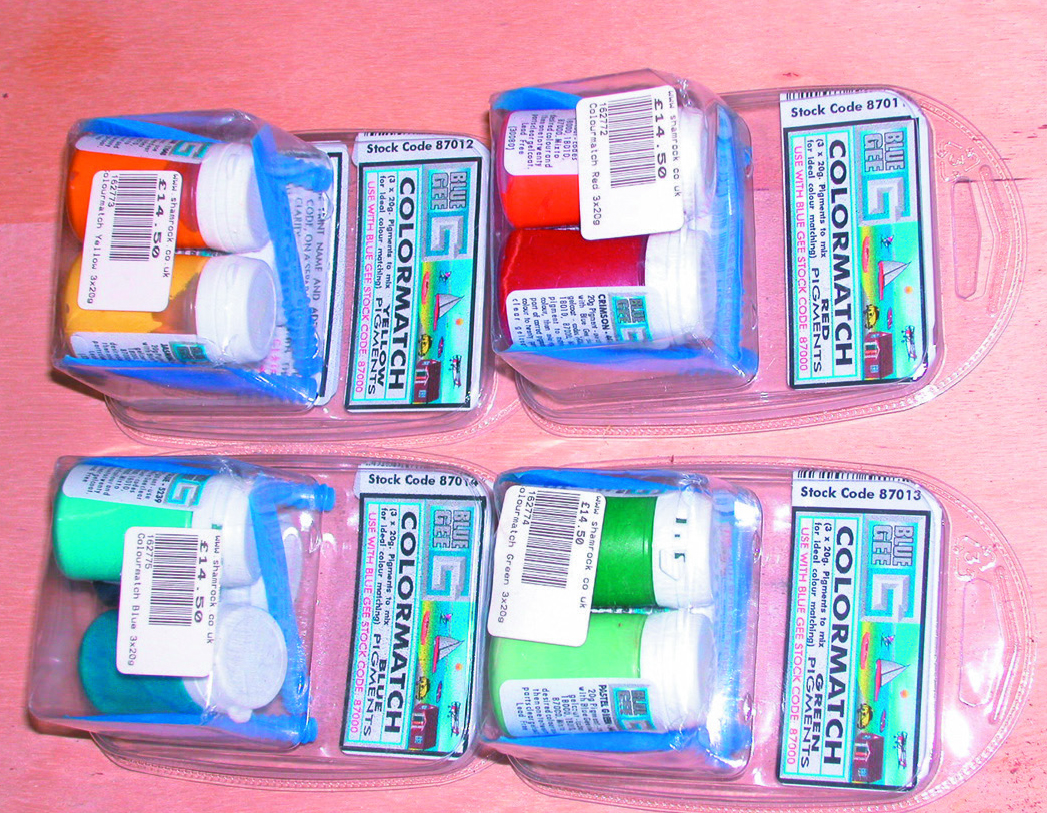
External matching may well take several attempts, and patience is essential. The final aim is for an invisible repair. If the boat is fairly new, the builder’s standard gelcoat may well give an excellent match. Older boats will have weathered, making matching more difficult, even if you can still get the standard colour. Have a look round and you’ll see how many different whites there are and you’ll understand the problem. Different colour pigments can be bought to add to the basic colour to provide different shades. For a small job a pack from the chandler will be sufficient (photo A). For bigger repairs consult a resin supplier. With very small jobs on a white hull, a tube of gelcoat filler will probably be nearly invisible. It will in any case change colour as it ages.
Mixing a wax additive with the gelcoat ensures a tack-free (non-sticky) finish where no rubbing down is required. A ‘tube’ of filler will have this incorporated.
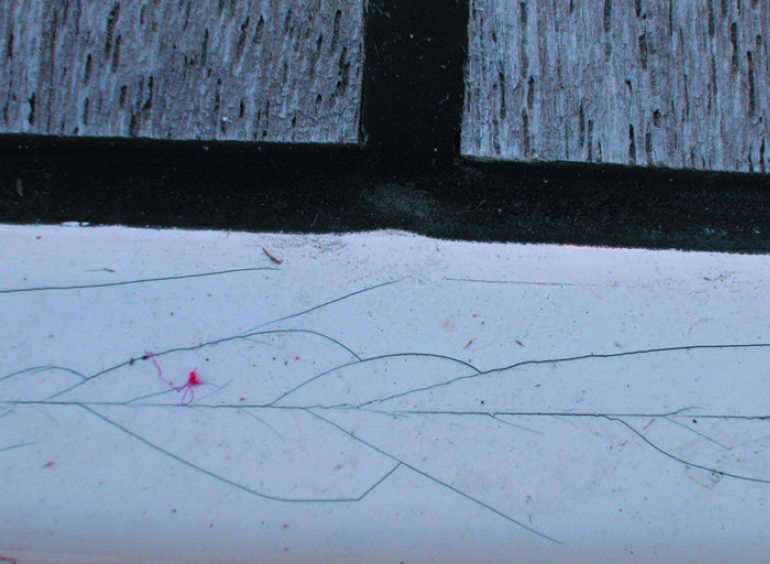
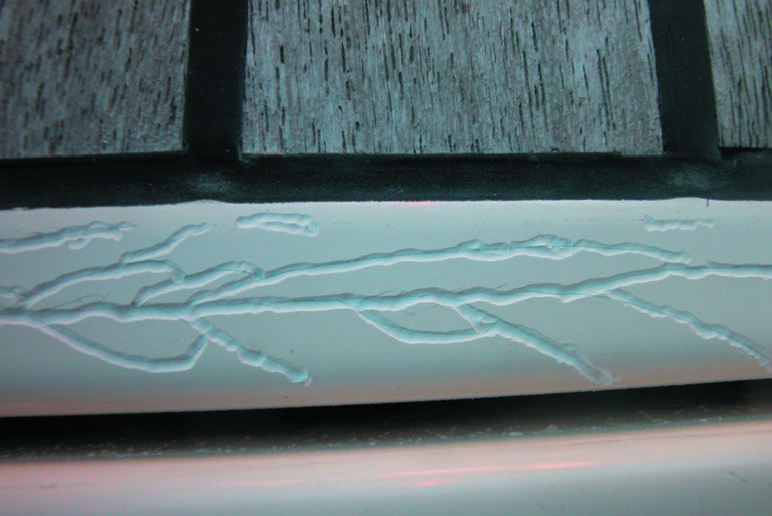
Before undertaking any repair of stress cracks (photo B), you first need to find their cause. At a stanchion base, for instance, cracks imply that there is insufficient reinforcing of the deck. A radiating pattern from a point indicates impact damage by a sharp object. Stress cracks in the region of the mast step may indicate settling of the mast support due to insufficient strength of the frames in the region of the keel. Problems like this may be common to all yachts of this model so look at other boats, or make an enquiry to the class association.
If the cause is due to insufficient reinforcing, increase the strength otherwise the cracking will reappear, (unless the problem is due to accidental collision damage). Expert advice may be needed. Assuming that any necessary strengthening work has been undertaken, the cracks can be filled.
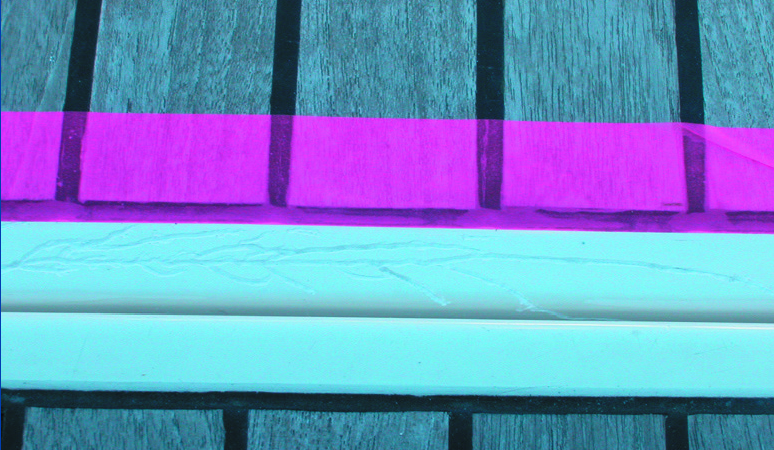
Protect any exposed woodwork using masking tape (photo C).
The cracks must be opened up to allow gelcoat to be applied. Use a sharp triangular scraper to gouge out a triangular trough. Exercise care because the tool will want to wander off the line of the crack.
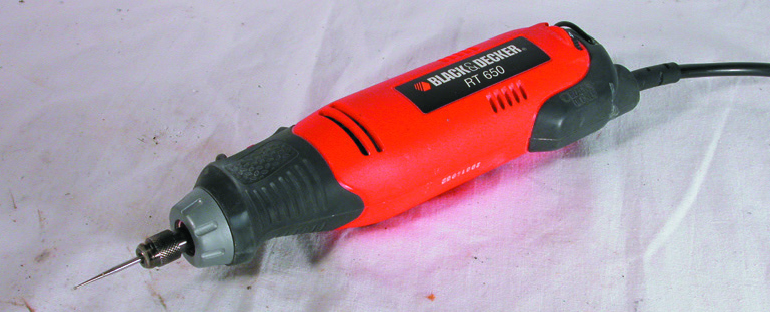
A better tool is a small electric hand tool such as a ‘Dremel’ or Black and Decker drill / grinder (photo D) - you have much better control of the tool and it’s much quicker. However, its not the sort of thing that everyone has in their toolkit and it probably won’t be worth the cost for a small one-off job (photo E).

Make sure that you have removed all the cracks. You may have to dig quite deep to get to the bottom (photo F).
Fill, smooth and finish as for a cosmetic repair.
© Not to be reproduced without written permission from Fernhurst Books Limited.
Simple Boat Maintenance was written by Pat Manley. Pat was a keen sailor, and must have had one of the most "self-equipped” boats afloat. He was a technical contributor to Practical Boat Owner magazine, a Fellow of the Royal Institute of Navigation and an RYA Yachtmaster Instructor.