Preparing The Students To Take The Helm
Book Extract
This session looks at how the boat works and how to helm the boat. You have already shown how to use some of the boat’s equipment, so now it’s time to explain how it works.
Go on a beam reach and raise the centreboard to show the boat trying to go sideways. Use a transit to make a point of this. Put the board fully down and you should be able to feel the difference in how the boat sails. Using a very light grip on the tiller, show how the sails can change the steering. Let the jib out and sheet the main in, and see the boat luff up. Let the main out and sheet the jib in, and see the boat bear away. Now let the boat lean over, still using the light grip on the tiller, and see the boat change direction. Your students should now understand that using the tiller is not the only way to affect the course.
Now it’s time to look at how to helm the boat. Start again with a mini-brief, pointing out the basics of helming. The points that you need to cover are:
- seating position;
- hands and grips;
- steering and sheeting.
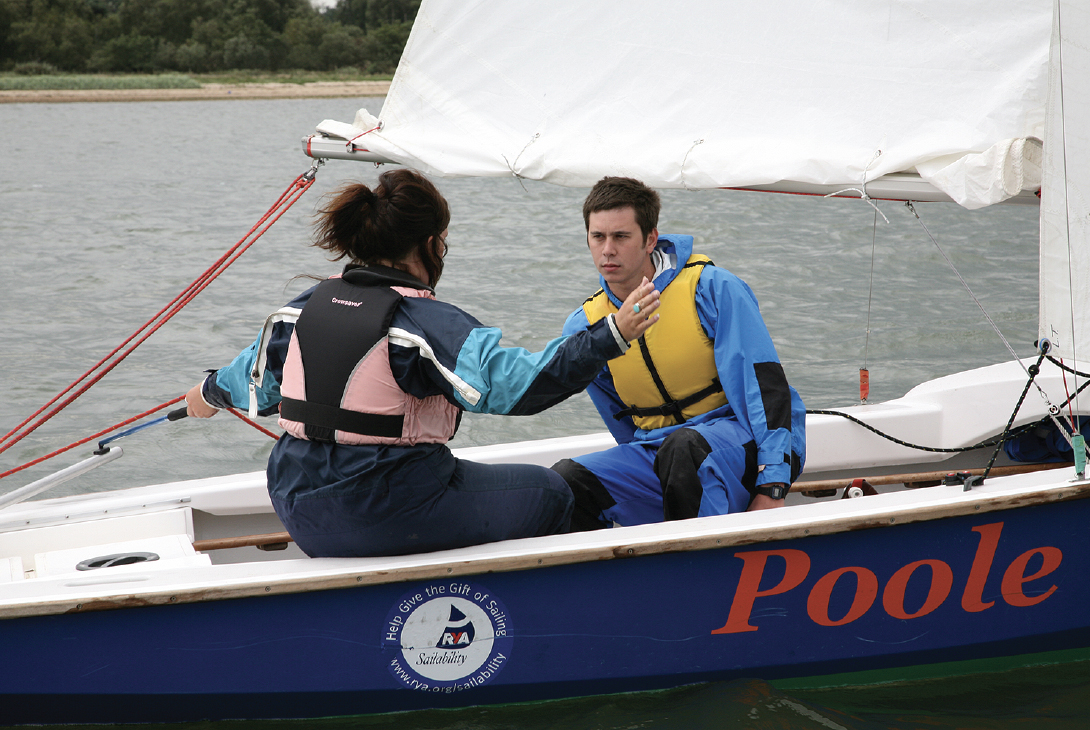
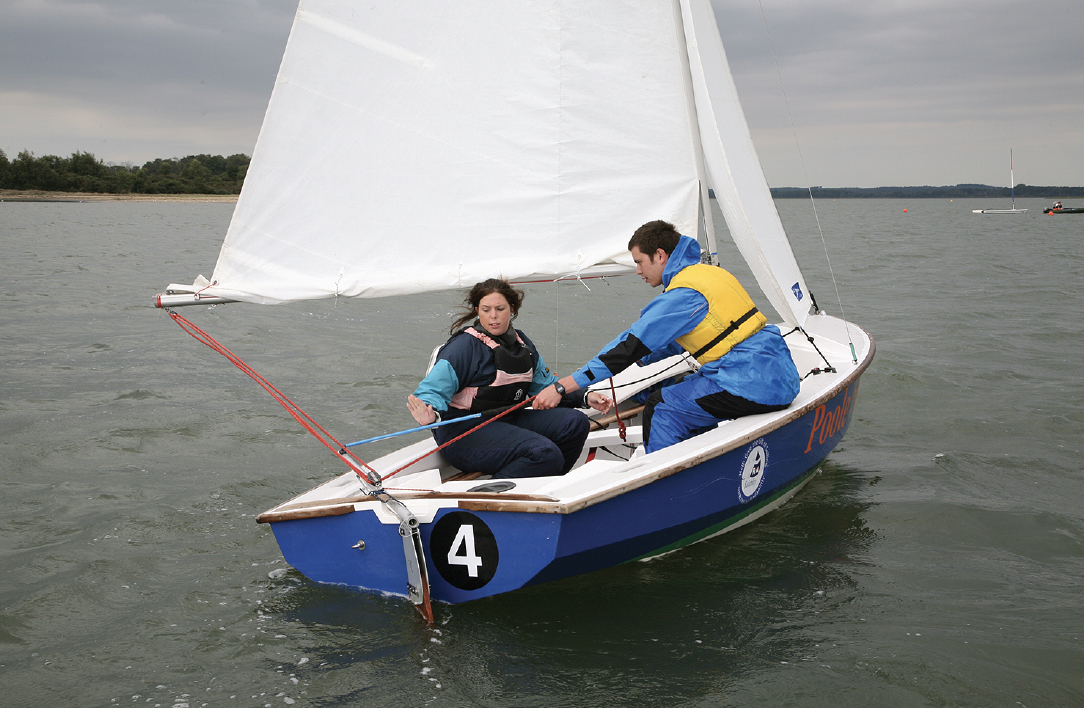
Again, start in the hove-to position and explain that you need to sit in the correct place to use the tiller and the mainsheet correctly. The correct place starts with the helm sitting on the side of the boat opposite the sail and well forward in the boat. The photo [below] shows the helm sitting in the correct position in the boat. This is always the best place to start from.
Now get the boat moving on a beam reach so you can give a demo of how the steering works. Use a target to show the boat changing course in response to the movement of the tiller. Try to sail the boat gently at this point, as any heel would cause weather helm and confuse the student. Removing the jib during this demo may prove to be useful. Move the tiller in a positive manner to show the boat changing course in both directions. Show how to sheet in using the tiller hand as a cleat without altering course. This is easy if the helm is in the correct position. If there is enough wind, explain that as the boat starts to power up it will also heel over. Show how to stop this by sheeting out.
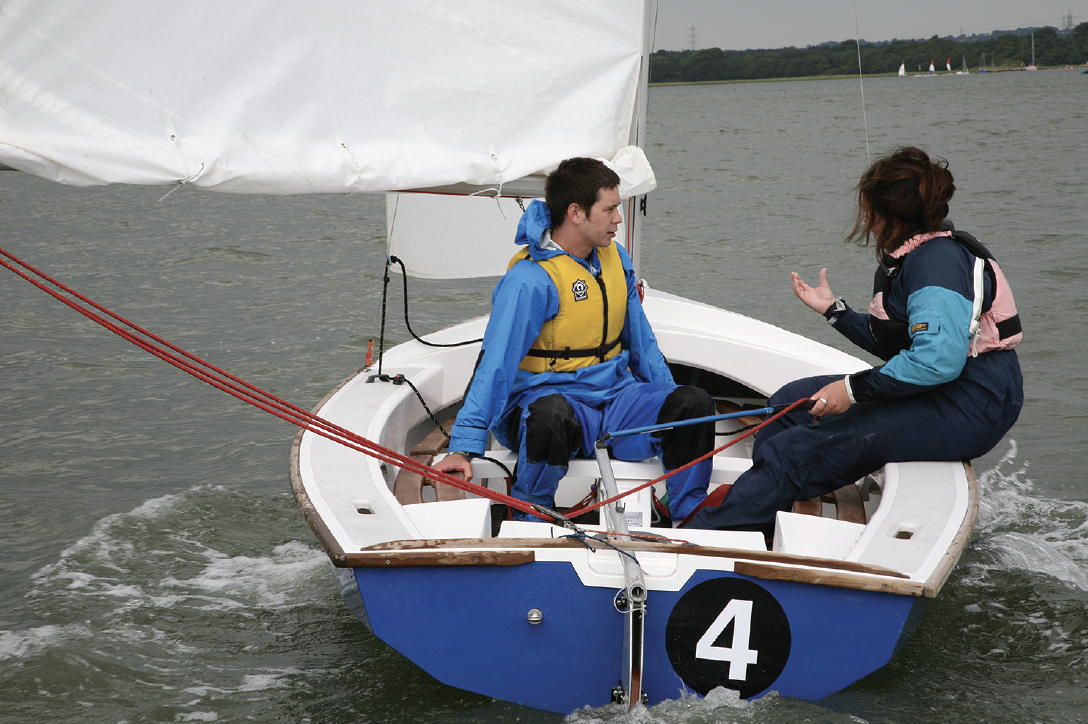
Make sure the students look at you during demos
The time has now come to put your new sailor on the helm for the first time. Think about the area that you are going to sail in, as this needs to be away from other boats and other water users. Remember, this is the first time that the student has sailed as a helm. It also helps to have a long run, as this gives time to practise the steering and sheeting without the added pressure of running out of water.
Top Tip
Don’t try to rush this session. Take the time to do a good demo, as you need to build a good foundation as a starting point. With a good foundation the building blocks can be put in place. A lot of the teaching that follows starts from this point.
First Time on the Helm
You have done your demo and you have picked a good sailing area. Now it’s time for the student sailor to have a go. Again, we start with the boat in the hove-to position. It would not be a good idea to give the helm to your student with the boat moving. This would put pressure on the student to get it right straightaway. It’s your job to build confidence at this point. From the hove-to position, give the helm to the student. Before he powers the boat up, go through a checklist:
- Is he sitting in the correct position?
- Has he got a target to aim at?
- Has he got the tiller and mainsheet in the correct hands?
- Is he using the correct grips?
- Does he know what will happen when he pulls or pushes the tiller?
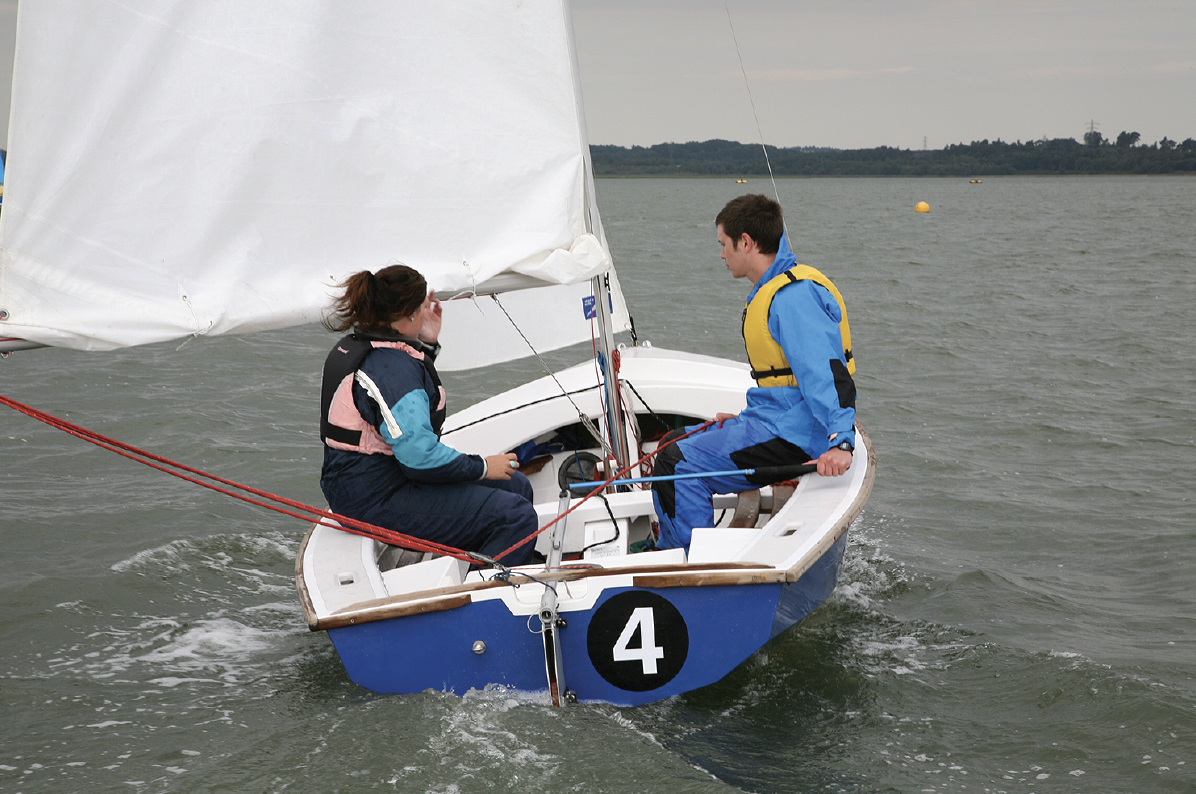
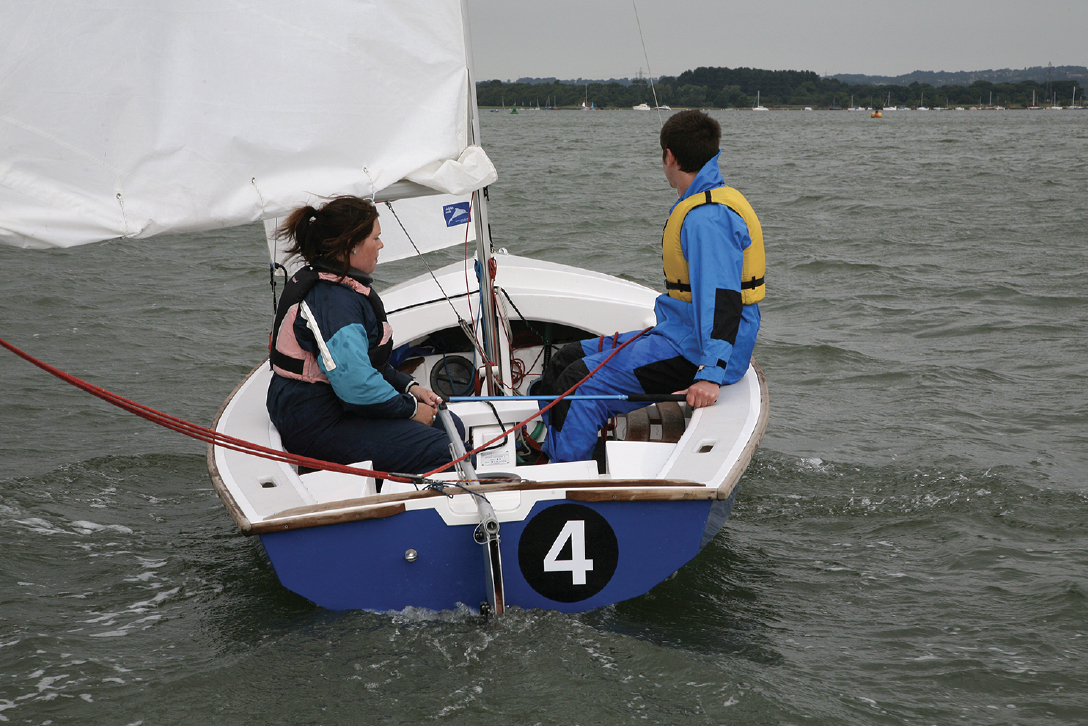
Now it’s time to go. Depending on the numbers of students on board, you may have to crew the boat at this time. If this is necessary, you may wish to remove the jib. This allows you concentrate on teaching the student. If you have more than one student aboard you need to get into a position that is conducive to creating a good learning environment. Opposite the helm on the lee side is perfect. This position has lots of positives: it gives you eye to eye contact with the student; you get a good field of vision; if needed you can take control; and sitting on the low side gives an air of confidence.
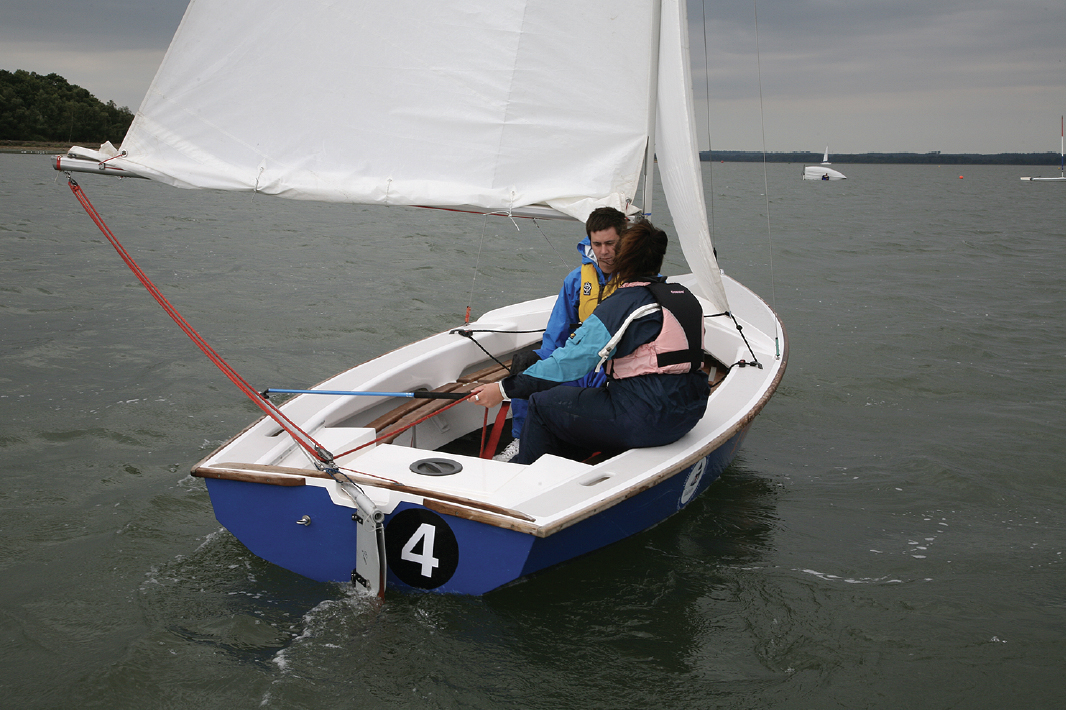
When you give the instruction, ‘pull the tiller towards you’, the boat should start to turn away from the wind. Always use simple instructions. Pull or push the tiller is a good starting point. If your beam reach is good, the boat should start to move without sheeting the main in. At this point we are not trying to sail fast; you are trying to get the student to steer the boat. Ask him to make small alterations to your course to get him used to using the tiller. Depending on the amount of space you
have, this may be all you do on the first run. Remember he can’t tack as a helm. You must take over the boat to go about. On the next run he will be using the other hand. Some people have lots of problems with this. Be patient and let them learn at their own pace.
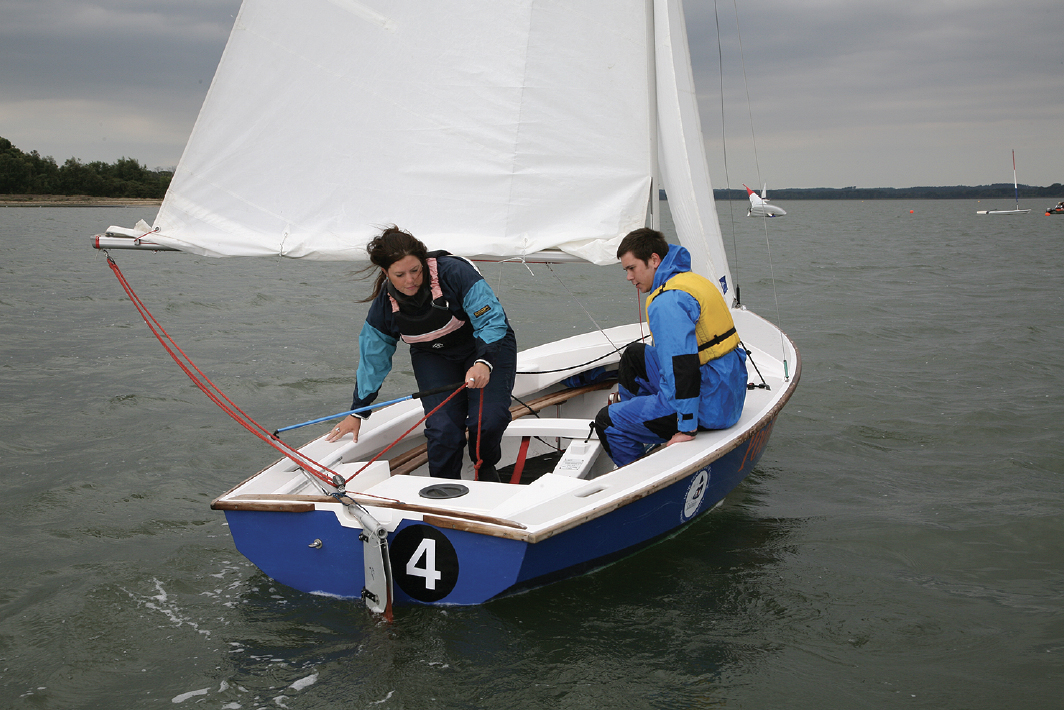
Once your students have had some practice at steering, move on to sail control. The big problem is that as soon as you ask them to sheet in the main they always go off course. Try to stop the students from looking at their hands; instead get them to concentrate on the front of the boat. After all that is the important bit. When you are happy that your students can steer and control the mainsheet under your instruction, move on to teaching points that are important but not technical. Hove-to, wind direction, basic sail set are just a few of the points that you may wish to cover. Before returning to the shore it helps if you do a demo tack as the helm. Later on you will need to do a land drill tack. The demo tack done before coming ashore will then start to make sense.
Top Tip
It may not be that windy for you, but think about your student’s needs. Think about reefing to make the boat a bit more stable for this early session. Make certain that the boat remains on a good beam reach. This makes the common faults a bit easier to manage. If it’s gusty you may decide to give the student the tiller and not the mainsheet. This gives you some control of the power, making the boat a bit more controllable.
Common Faults
This session can be a bit daunting for raw beginners. They tend to oversteer or panic a bit, especially if it’s a little windy. If it’s gusty they may freeze at the moment when the mainsheet needs letting out, making the boat hard to steer. The problem then gets worse. At this stage, students tend to think that if the tiller is in the centre, the boat will go straight. They also tend to look out of the back of the boat, instead of in the direction they are going. Getting them to look forward is key
© Not to be reproduced without written permission from Fernhurst Books Limited.
Teach Dinghy Sailing is written by Gaz Harrison. Gaz has over 20 years’ experience training dinghy instructors, throughout Europe. He is a highly qualified coach and when not in training he delivers yachts around the world.